BMW 135i & 335i Twin Turbo Upgrade: MMP Stage 3 Turbos (N54)
1/26/18 UPDATE: I ran the MMP turbos at 30psi for about 500 miles and then my motor dropped compression on cylinder #3. I don’t think this was a fault of the MMP turbos. After removing the motor and turbos, I decided to convert to a single turbo setup for various reasons. Watch this video for the full scoop.
On a constant quest for more power, I found myself looking to upgrade from my stock turbos. There are a few different options available, and even some single turbo conversion kits. After doing some research, I was set on a pair of MMP Stage 3 turbos. They offer 700whp capability with OEM fitment and come at a great price. After hearing praises about Mauricio’s customer service at MMP, I decided it was a no-brainer and pulled the trigger!
I opted for fully-optioned MMP Stage 3 turbos which included a 2 year turbo warranty with the bearing treatment. These turbos require larger inlets and outlets, so I opted for MMP’s silicone outlets and aluminum relocation inlets since I already relocated things for aftermarket inlets on my stock turbos. I also ordered the turbo install kit because I wanted fresh o-rings, gaskets, etc.

After reading some DIY N54 turbo install guides, I decided to tackle the job in my garage on jack stands. This would be one of the most involved projects I’ve ever attempted on my own, but I knew it was possible.
Since I planned on dropping the front subframe, I wanted to replace some things while I was in there and had easy access. Here is a list of parts I bought for my 6-speed 2008 BMW 135i:
- MMP Stage 3 Turbos
- Ceramic coated
- WPC bearing treatment
- Turbo install kit
- MMP silicone outlets
- MMP aluminum relocation inlets
- Silicone relocation inlets and stock location inlets are available if you’d prefer either of those instead
- Rear turbo water return line from a 335i (PN: 11537558902)
- Required to fit MMP Stage 3 turbos on non-335i cars
Since I am chasing 700whp, I decided to upgrade my clutch and fuel system at the same time (not required when just replacing turbos).
- SPEC Stage 3+ clutch kit
- MFactory single mass flywheel (pick one)
- 8 bolt version (build date BEFORE 01/2009)
- 6 bolt version (build date AFTER 01/2009)
- Precision Raceworks Stage 3+ modular fuel pump kit
- Upgraded fuel feed line and PNP harness
- Precision Raceworks/MMP port injection kit
- Burger Motorsports port injection controller
Preventative maintenance:
- Oil pan gasket (PN: 11137548031)
- Oil pan bolt set (PN: 11132210959)
- Oil level sensor o-ring (PN: 12611744292)
- Water pump (PN: 11517632426)
- 3x water pump bolts (PN: 11517602123)
- Coolant hose (PN: 11537545665)
- Coolant inlet hose (PN: 11537558522)
- Motor mount – left (PN: 22116760330)
- Motor mount – right (PN: 22116773744)
- 2x downpipe V-band clamps (PN: 11657620508)
- Oil filter housing gasket (PN: 11428637821)
- Oil cooler housing gasket (PN: 11428637820)
- Oil filter kit (PN: 11427566327)
- Motul 8100 X-Cess 5W40 motor oil (6 liters)
- Red Line synthetic power steering fluid (1 quart)
- BMW coolant/antifreeze (2 gallons)
None of these are required except for the motor oil and coolant because they will be drained while removing the turbos. I simply replaced all of the above parts as preventative maintenance. My oil pan gasket and oil filter housing gaskets were slowly leaking and my passenger-side motor mount was torn.
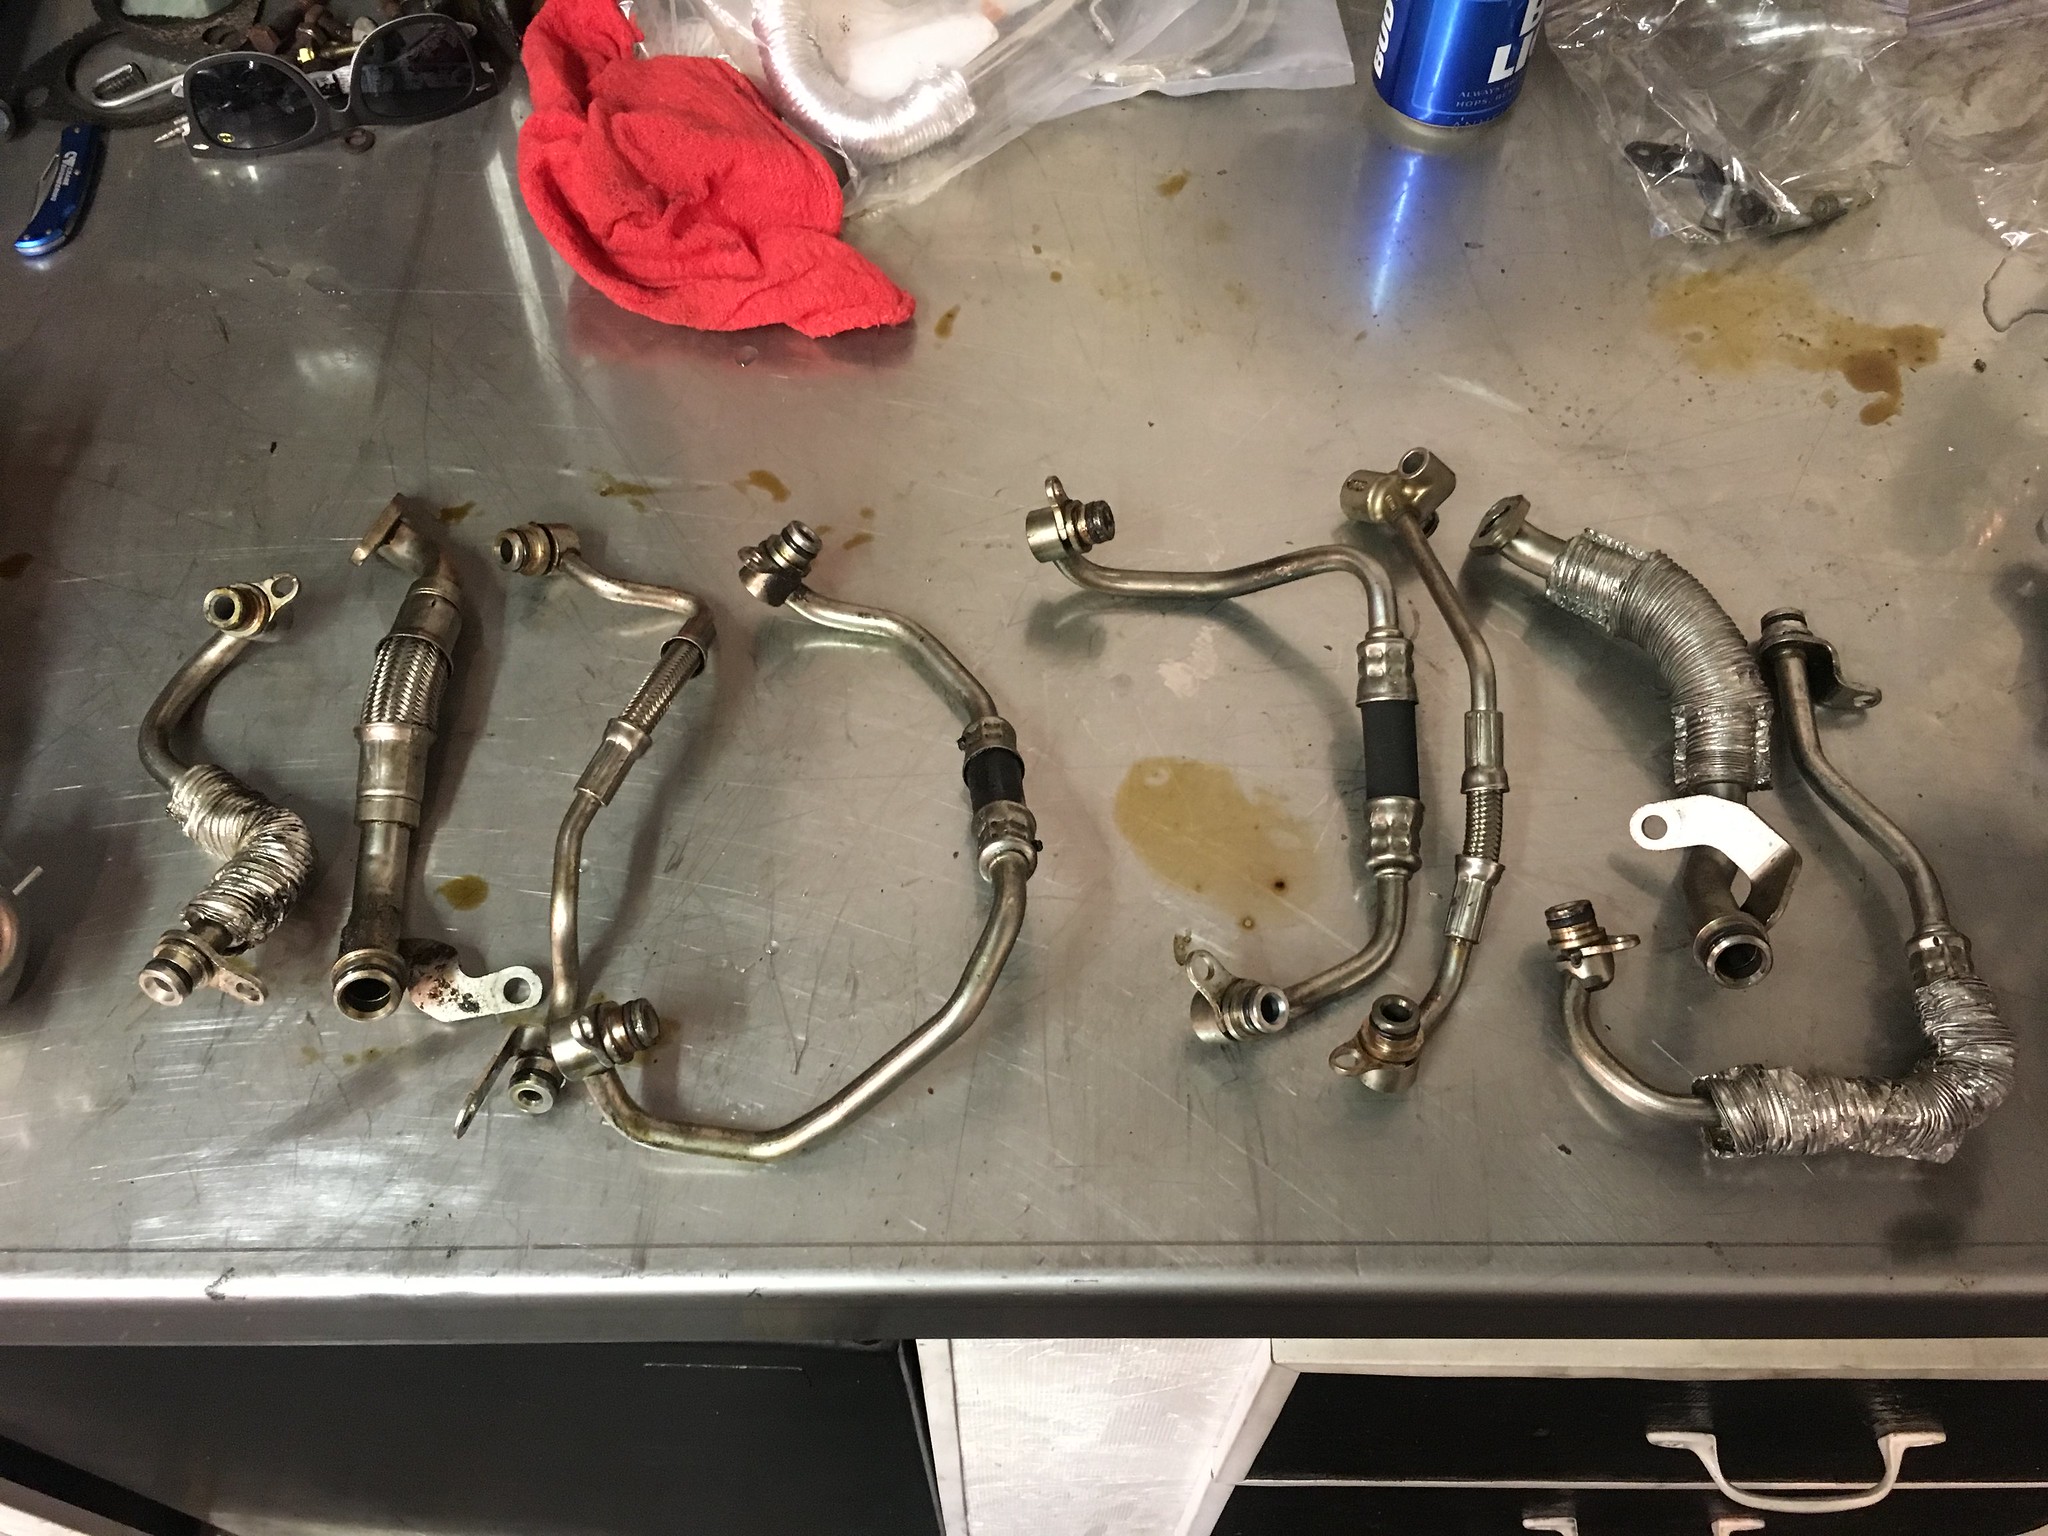
NOTE: Some people also recommend replacing the 8 turbo oil feed/drain and water feed/return lines, but I reused my existing lines (with new gaskets/o-rings of course). Some people also replace the turbo manifold studs and nuts, but I left the studs in and reused the nuts.
Now that we’ve gathered all of our parts, let’s get to business! I put the car in the air and took off the front bumper for easy access.
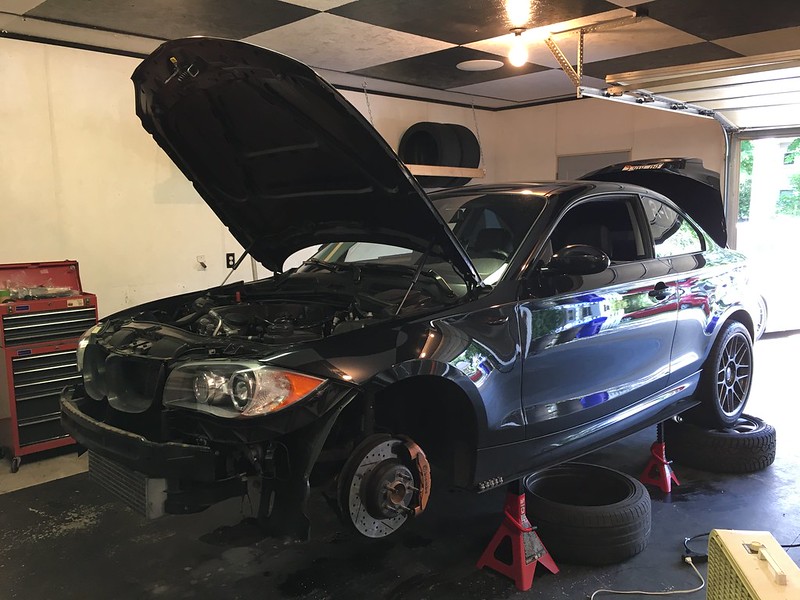
Undertrays removed, time to get this subframe out!

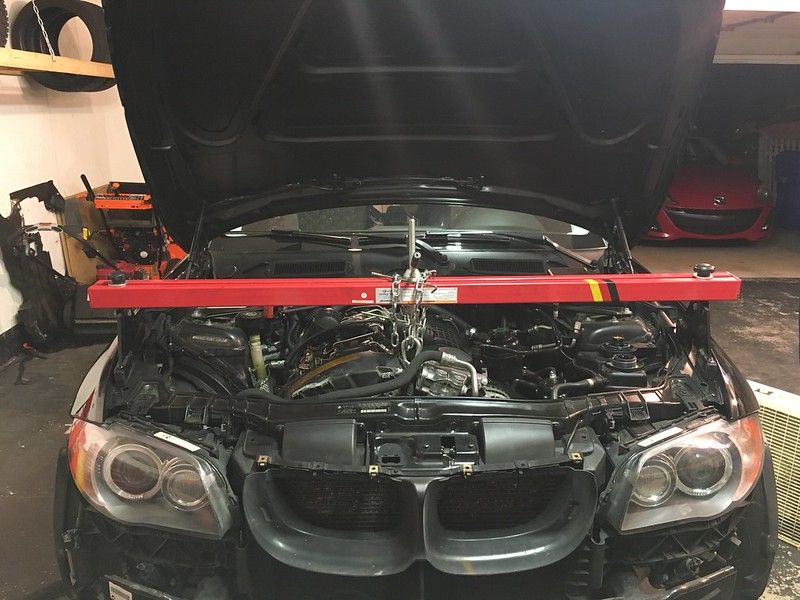
I don’t have the most tools in the world, but I managed to get the subframe and steering rack out in about 4 hours. I used an engine support brace to hold up the engine before dropping the subframe.
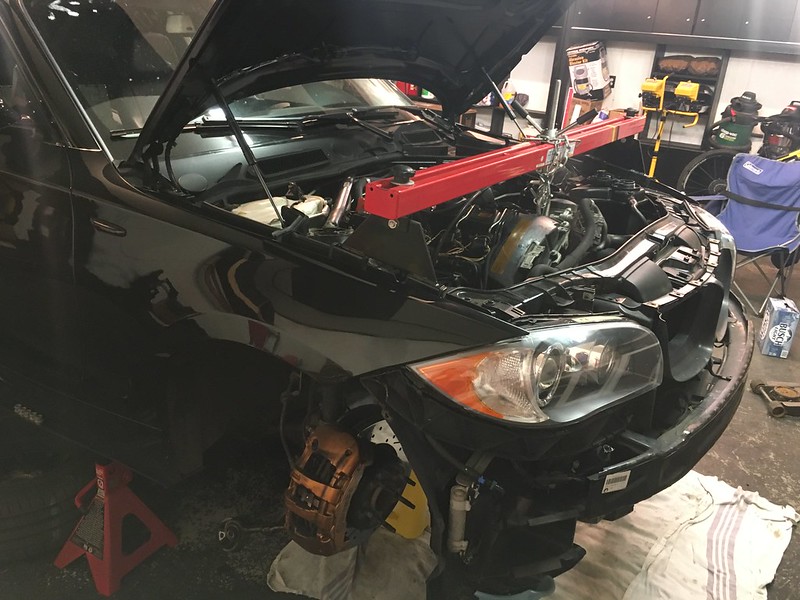
2 hours later I had the downpipes, intercooler, inlets, outlets, fan, engine mount, water pump, thermostat, and coolant pipe out of the car. Don’t forget to drain the oil and coolant before getting too far.
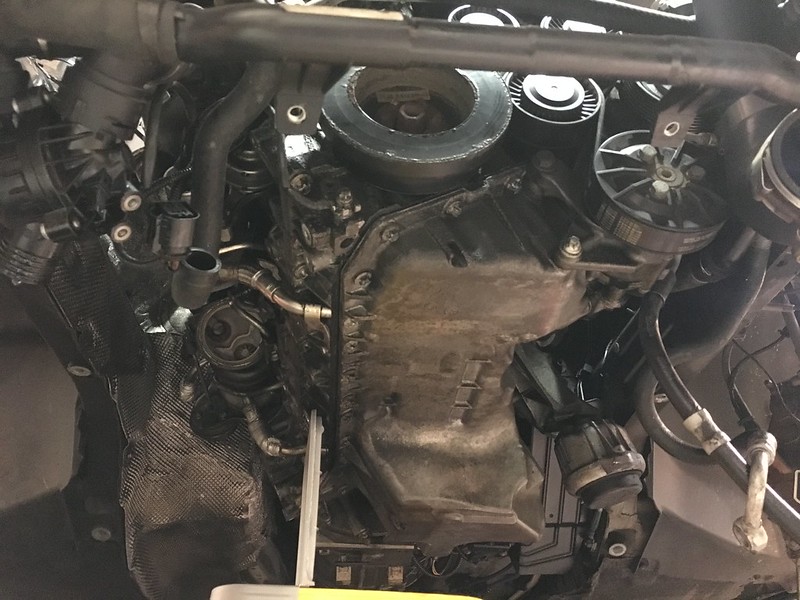

In the process I discovered what coolant tasted like and was covered in grime, but knew I was making good progress. Next, I disconnected the oil and coolant lines from the block, then removed the stock turbos. Unbolting the manifolds was the easy part. Removing the coolant and oil lines from the block was more difficult than I expected. It was a painful, tedious process because I needed to reuse the lines. Be careful with these lines if you plan on reusing them!
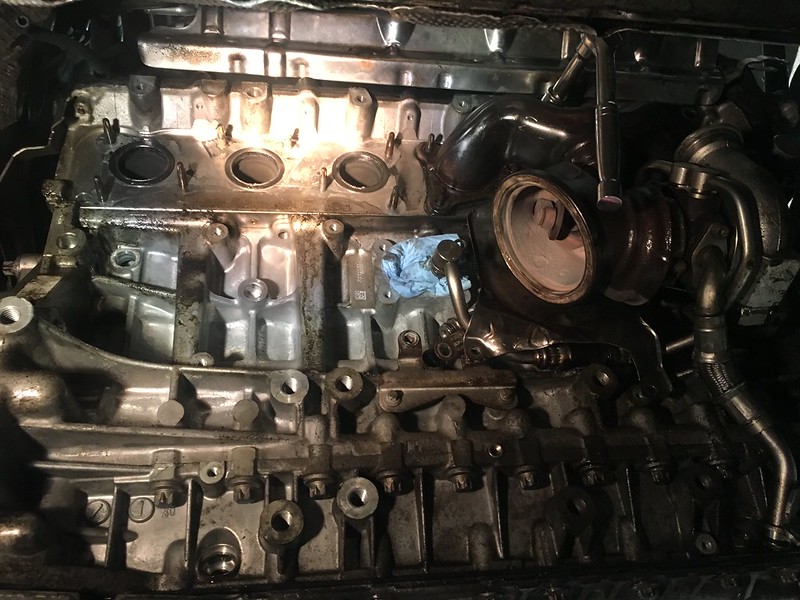
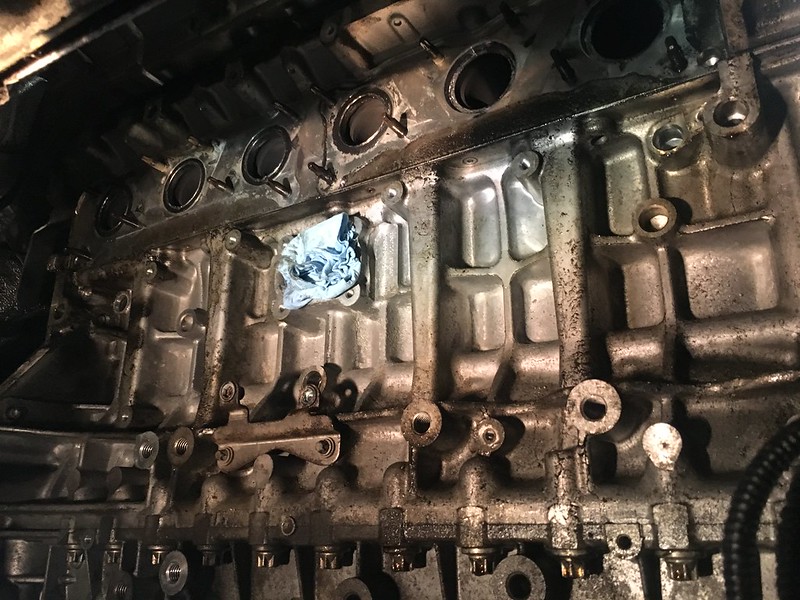
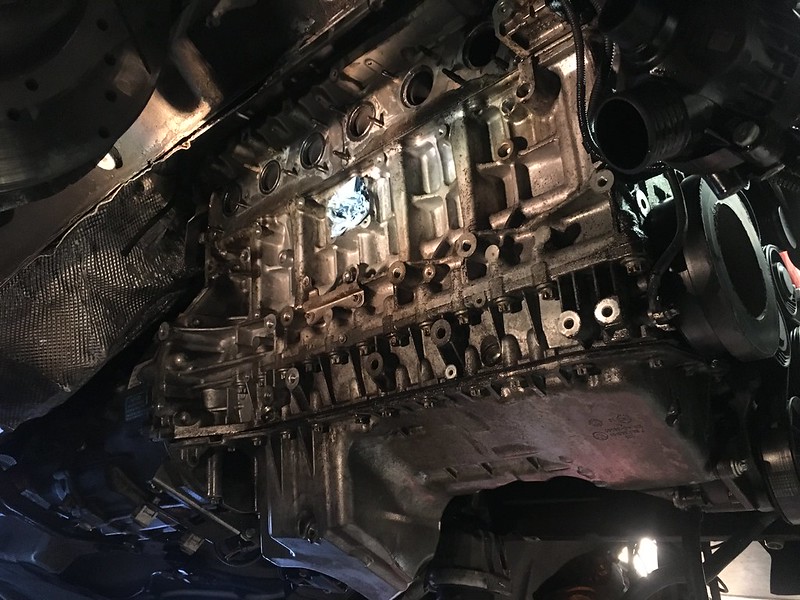
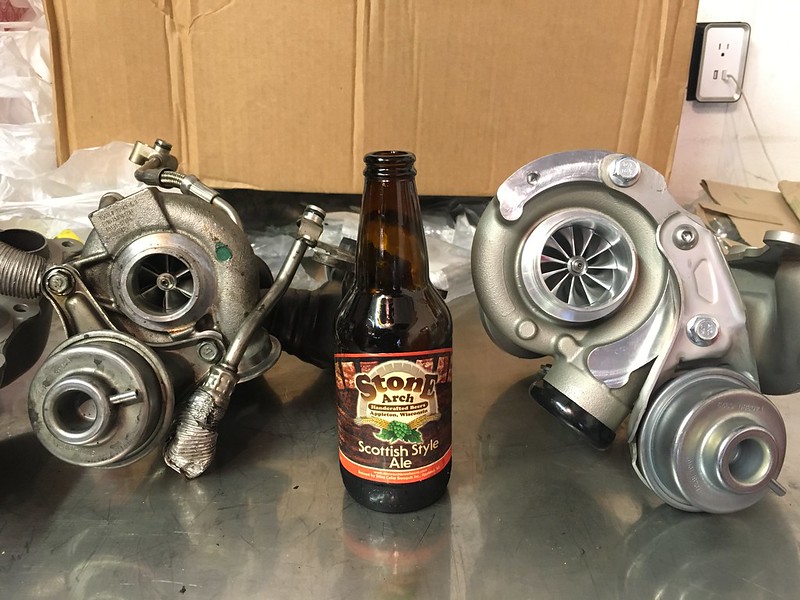
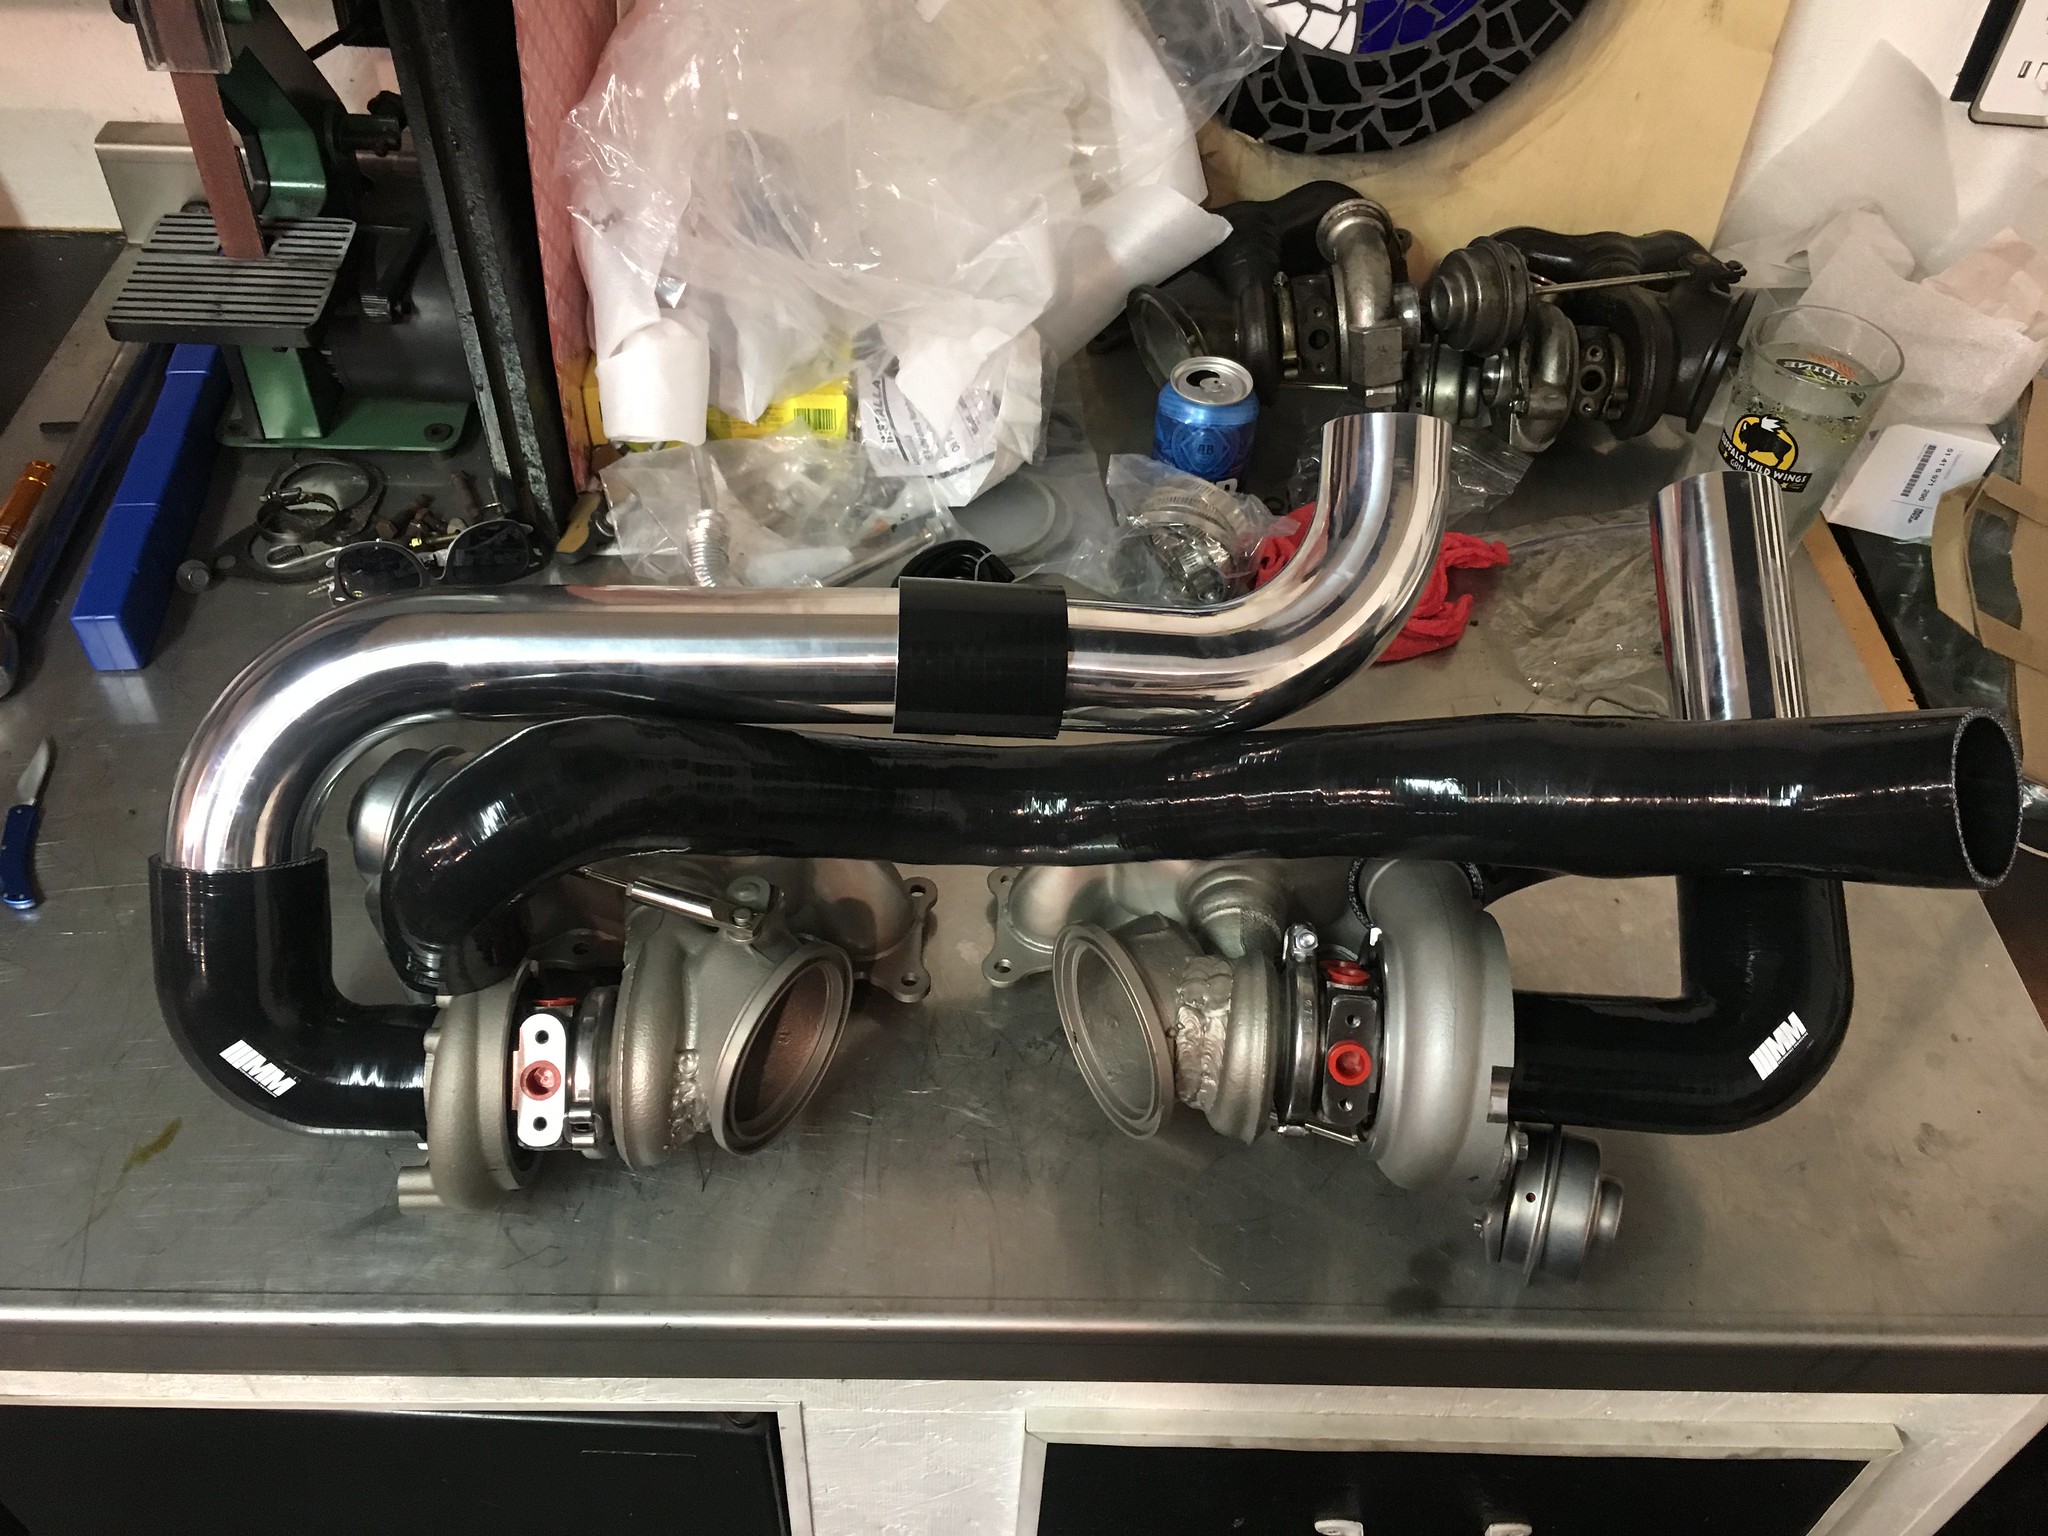
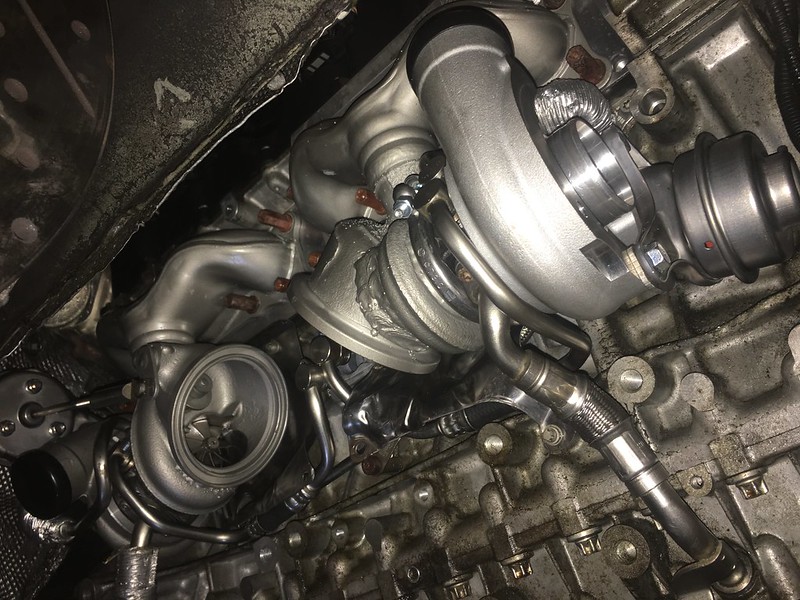
Look at all of that room! Now that the stock turbos were out, I had to compare them to my new MMP Stage 3 turbos.
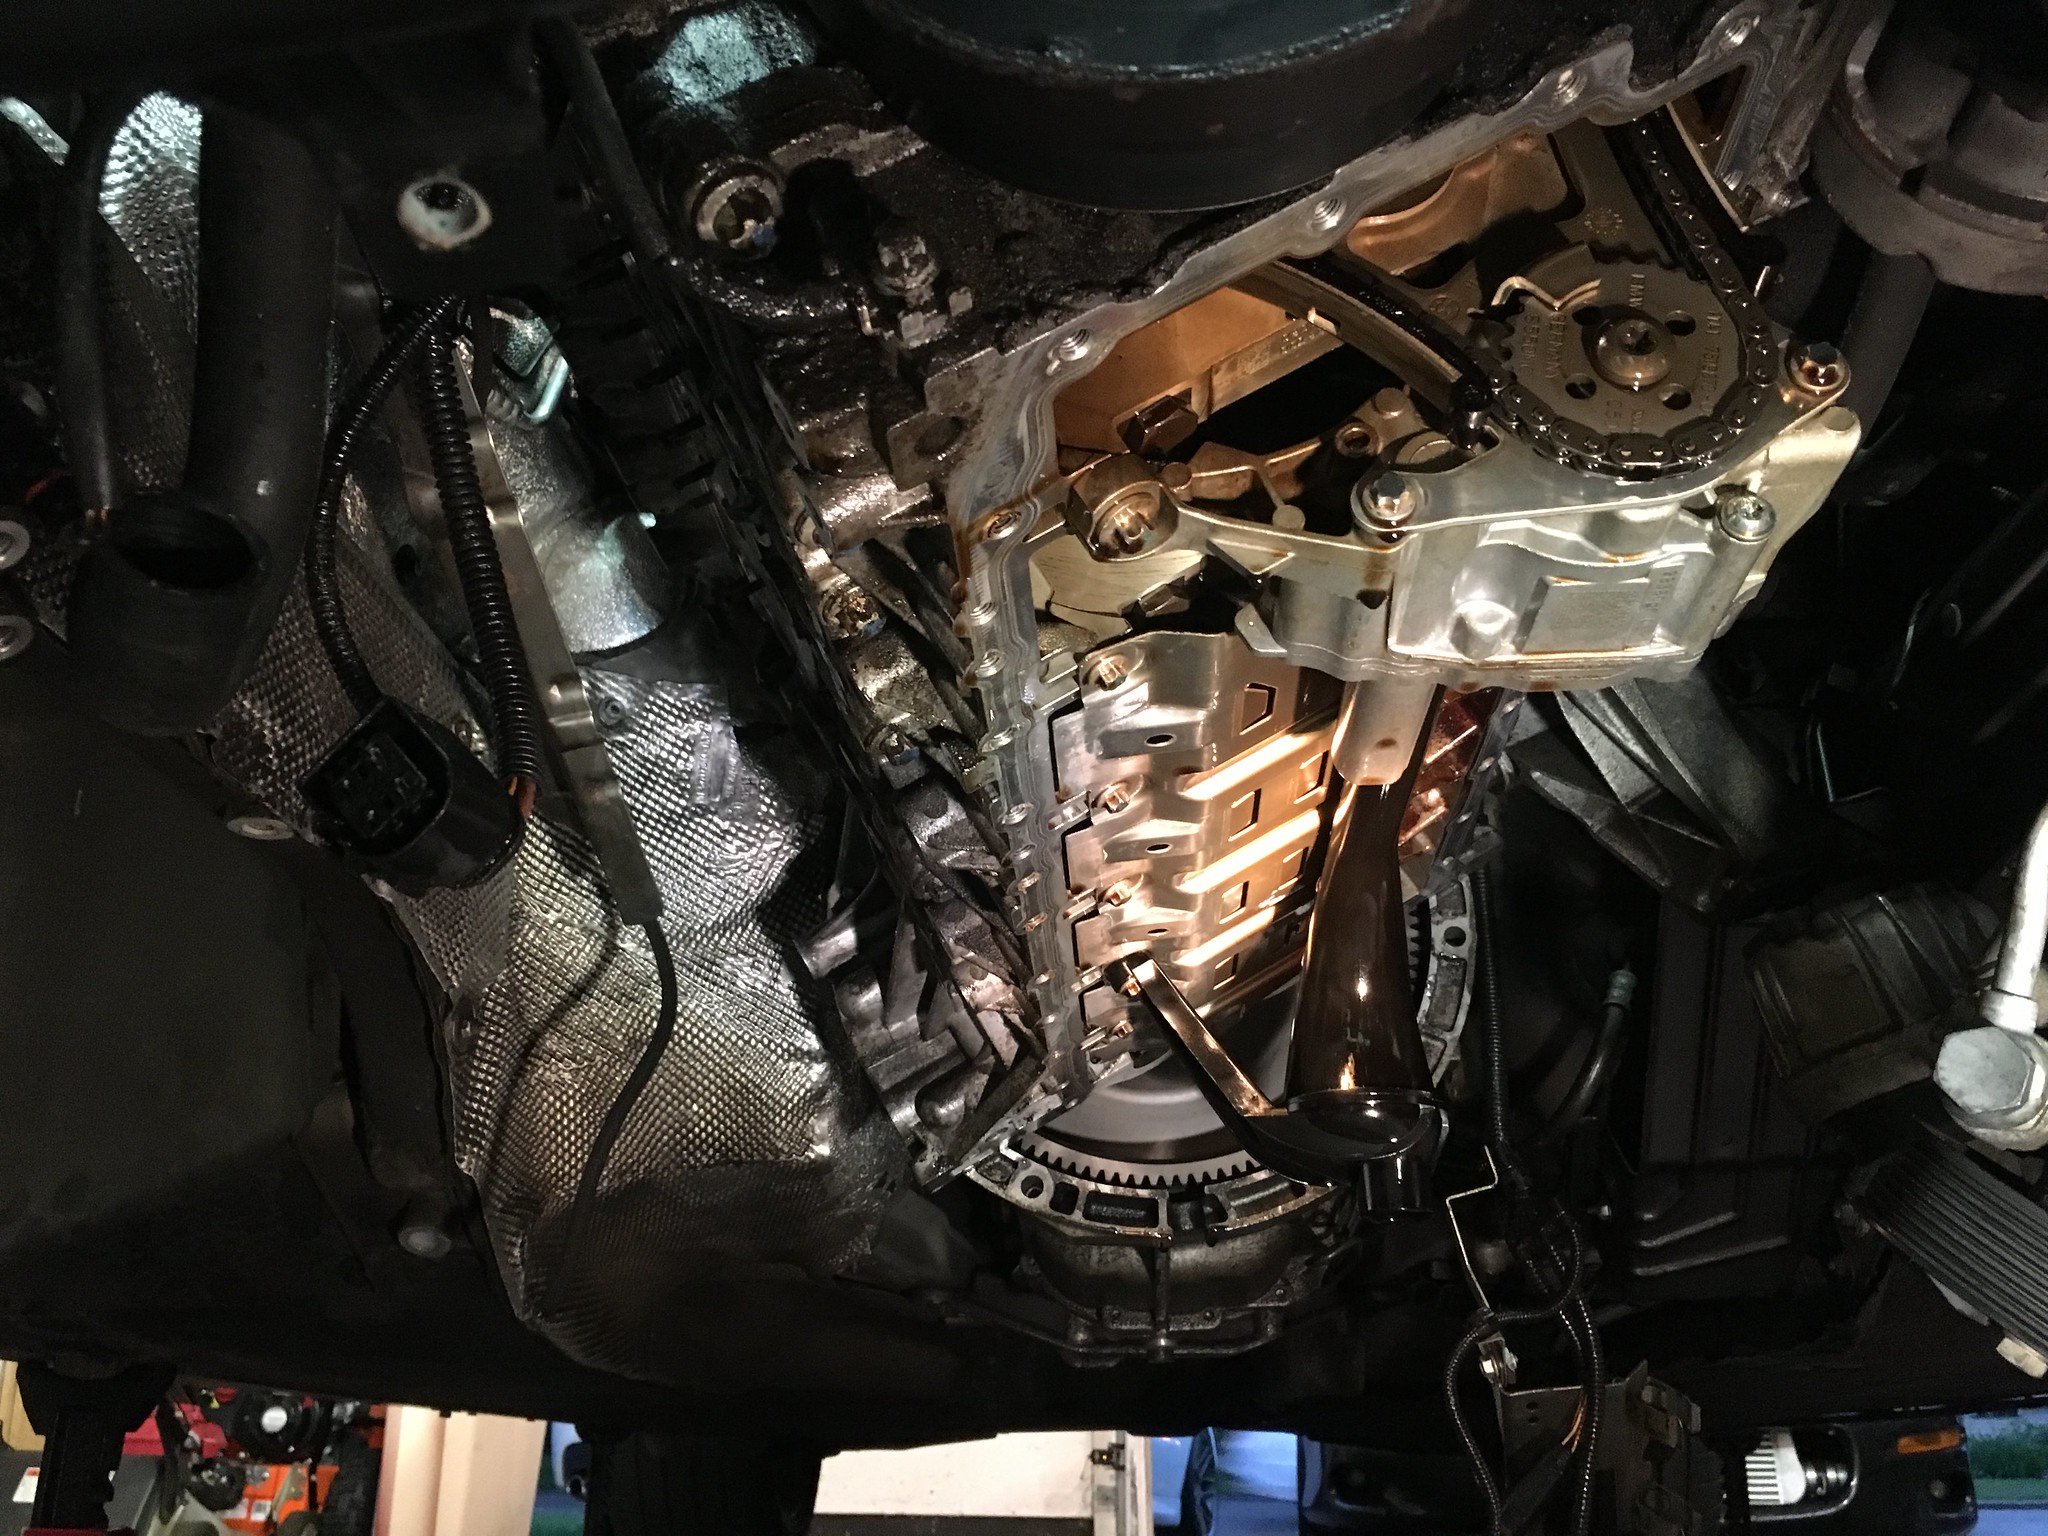
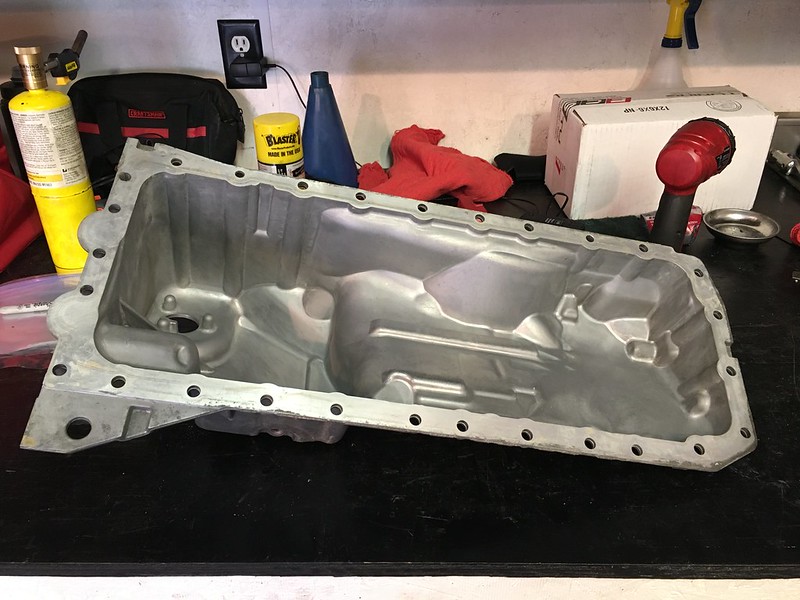
Next, I removed the power steering pump so I could remove the oil pan to replace that gasket. Once the oil pan was out, I cleaned and reinstalled it with a new gasket, bolts, and oil level sensor o-ring. Be sure to follow the proper bolt torquing procedure if you’re replacing the oil pan gasket.
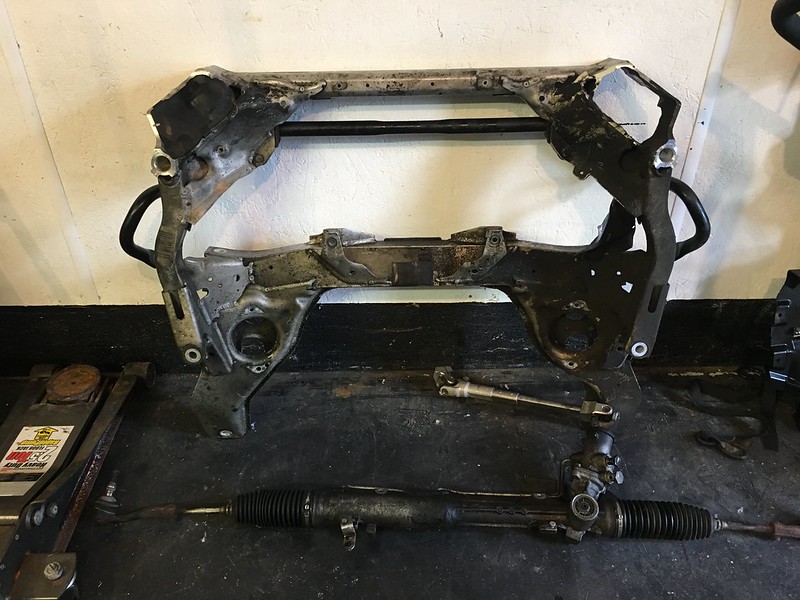
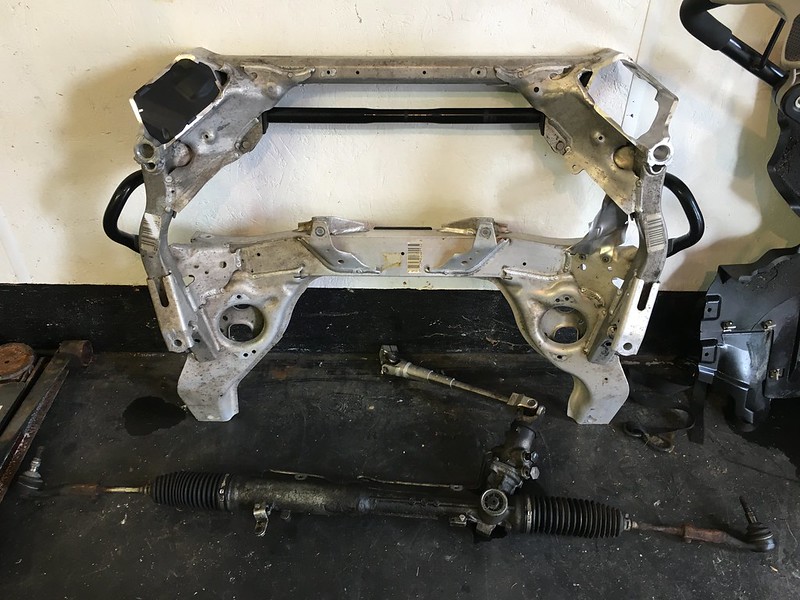
The subframe was filthy from the oil pan gasket leak, so I cleaned it.
After this, I wanted to mockup the turbos with the MMP inlets and outlets attached to get a better idea of fitment.
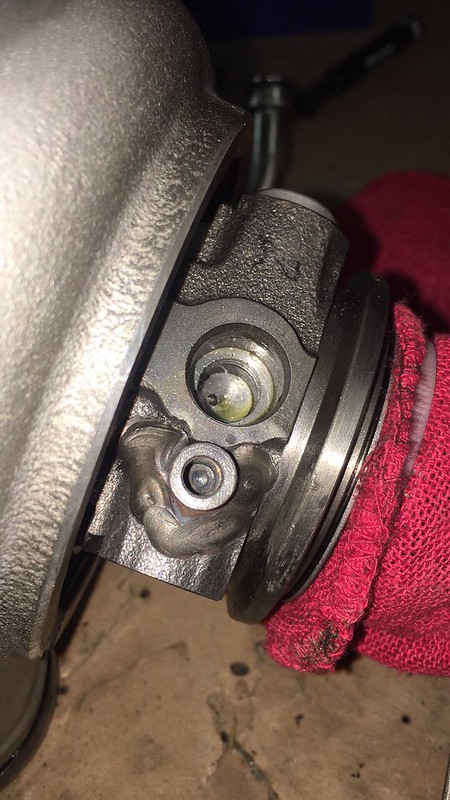
Then I began to swap all the oil and coolant lines over to the MMP turbos but ran into a bit of an issue. As Mauricio notes in the installation instructions, you must use the included small washers on the bolts when reattaching the oil feed and coolant lines to the turbos. If you don’t, you will bottom out the bolt and pull the welds off that hold the mount on. Ask me how I know – whoops! This was my own fault.

Luckily I had a friend who welded the stainless mount back to the cast cartridge housing.
Make sure all of your oil and coolant lines are in good condition and free of debris. Clean them up and blow compressed air through them before reinstalling. I found it was easier to mount the two coolant return lines to the block first and then secure the rest of the lines to the turbos on the bench. Replace all of the o-rings and gaskets on these lines carefully. Remember, use small washers and do not over torque the bolts during reassembly.
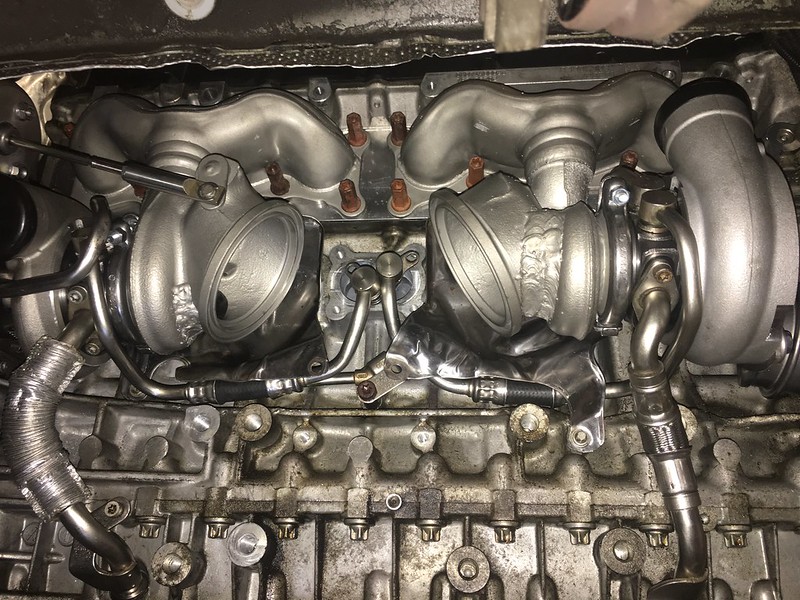
I got back underneath the car and cleaned up the mounting surfaces, then installed both turbos with new manifold gaskets. Rear turbo goes on first. It’s easiest to reinstall the heat shields while the turbos are loose. Reconnect the coolant return lines to the turbos once they’re mounted and then torque everything down.
Next, I wrapped the inlets and outlets with heat-resistant tape just for added reassurance. Since I already relocated things for aftermarket inlets on my stock turbos, I didn’t have to do anything special this time around. I did remove the bracket for the OEM rear inlet from the block at this time because I had the space.
I installed the outlets first. Make sure the couplers are properly seated and the clamps are tight. Then I installed the inlets, but had to remove the upper OEM heat shield and boost solenoids.

I could see the light at the end of the tunnel and was determined to get the car back on the ground. I set the camera down and did the following:
- Reattached power steering pump to oil pan
- Reinstalled coolant pipe, water pump, thermostat with new hoses
- Reinstalled intercooler
- Reinstalled downpipes with new v-band clamps
- Connected the O2 sensors
- Attached new motor mounts
- Finally reinstalled the subframe!
- Reinstalled power steering rack and refilled power steering fluid
- Mounted boost solenoids (required heat shield modification)
- Connected all vacuum lines
- Replaced the oil filter housing gaskets
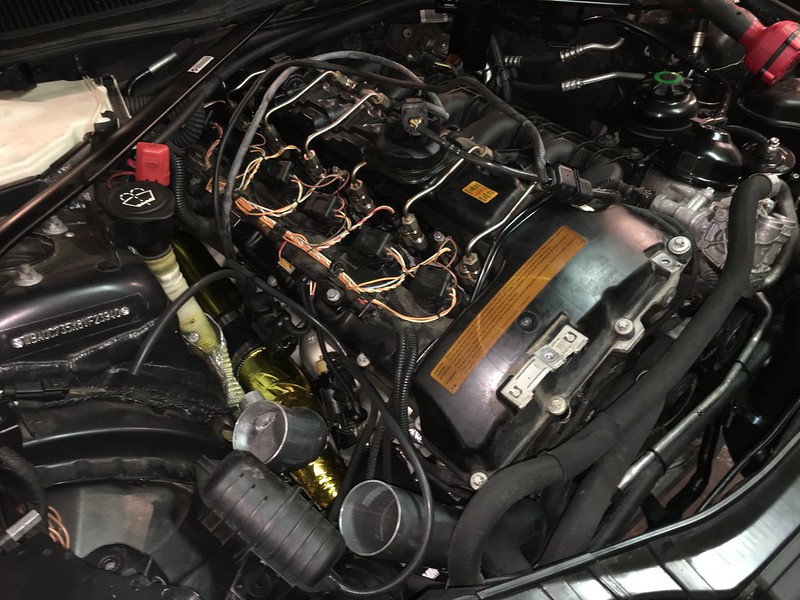
- Double checked that everything was connected and tightened
- Added oil, oil filter, and coolant, then bled the coolant system
- Unplugged the injectors and cranked the car to prime the turbos
- Started the car!

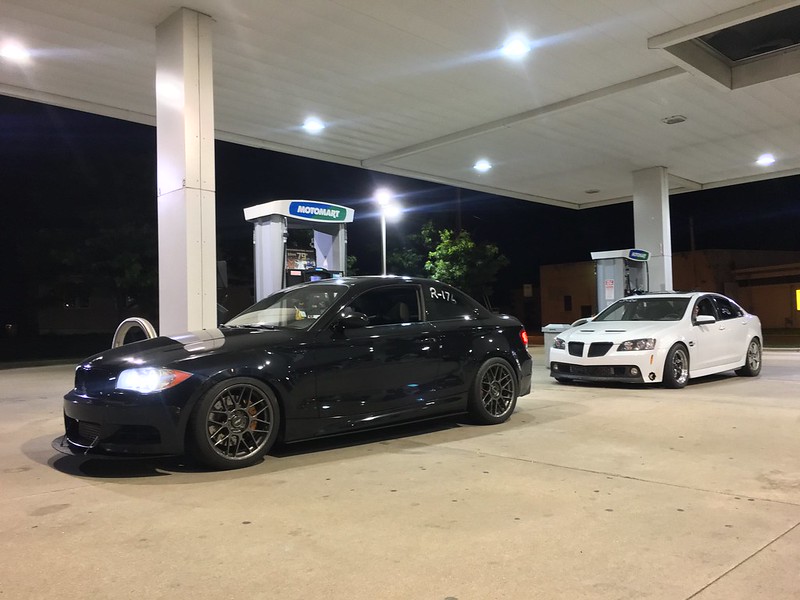
I was able to put on about 200 miles over weekend without a single issue! It was a great feeling being able to start the car and drive it without any problems.
These things are loud (in a good way)! I didn’t reattach the exhaust to the car yet, so it’s just dumping from the catless downpipes.
After putting a couple hundred miles on the turbos, I decided to see what they felt like targeting 20PSI to redline.
After this pull, I ordered a Stage 3+ LPFP and port injection from Precision Raceworks so I can raise the boost (read my post about installing those parts here). Stay tuned for updates!
Overall, I’m very impressed with the quality, fit, and performance of these turbos for the price! I would definitely recommend them if you’re looking to upgrade your N54 turbos. Quick spool, OEM fitment, higher boost ceiling, and no wastegate rattle!
UPDATE: Check out my post where I installed the upgraded fuel system and turned up the boost!
This page contains affiliate links. If you purchase anything using the links above, I will earn a small commission at no extra cost to you. Win-win!
Great work and tutorial. Kudos to all the editing and picture taking. I had to have a local guy who does a lot of e92 and e46 m3s turbo/supercharger upgrades to install mine. We had a small issue with lining the oil return lines, so he had to take them out again, reclocked the turbo with Mauricio’s instruction, then got everything fit in. Mauricio didn’t add that washer you were talking about but my installer just managed it. I am picking it up tomorrow. I just had my rear seal with flywheel/clutch done recently without a plan of upgrading turbo. So, I am just going to sit with stock clutch, then when it gets slipping I will swap to stage 3+ or double clutch ones. I am subscribed to your blog. Great work!
BTW, how did you tune it? I am going to be using MHD jb4 BEF Pump.
Thank you! I also had an issue where the oil drain line didn’t reach and had to reclock the turbo like you mentioned. Mauricio said this happened on a few sets of turbos that were clocked incorrectly by one of his helpers.
I used the BMS Hybrid E85 PI MHD BEF paired with a custom map 6 on JB4. Hope you’re enjoying your new turbos!